Making DIY Name Tags for Conferences, Markets, and Networking Events

Want fast, easy name tags without a custom order? Sheet labels let you print exactly what you need—from five to five hundred—on your home or office printer. Perfect for last-minute conferences, markets, or meetups, they’re simple to design, quick to apply, and easy on the budget.

How to Make DIY Name Tags That Look Great and Print Smoothly
Making your own name tags doesn’t have to be complicated. Once you’ve picked the right label size, you just need a design and a printer setup that works. Here’s a step-by-step guide to help you go from blank sheet labels to event-ready name tags without the hassle.
1. Choose the Right Label Size
Start by picking a size that fits your event needs. A 2.625” x 1" sheet label is a good option for smaller name tag labels—it fits most badge holders, sticks cleanly to clothing, and gives enough room for names and short titles.
Need more space for logos, job roles, or creative layouts? Go with something like 4" x 2" or larger.
We recommend printing a test sheet on plain paper first to check layout and alignment before using your actual label stock.
2. Use a Template (Or Build Your Own)
Once you’ve picked your size, you’re ready to lay out your name tags. You have two options:
- Use a pre-made template – Label Blanks offers free downloadable name tag templates. They're the fastest way to get started if you have a standard sheet label size.
- Create your own – If you’re working with a unique label size or want full control, you can build a custom layout using Microsoft Word’s built-in label tools or by creating a table that matches your sheet format.
Either way, save your template so it’s ready to reuse for the next event.
3. Design Your Name Tags
Keep your design simple and easy to read from a few feet away. You can create your name tags directly in Word, Canva, or your preferred design software if you want more visual flair.
Design tips:
- Use large, readable fonts (16–28 pt for names)
- Keep color contrast high for visibility
- Add logos or event branding if space allows
- Avoid using too many fonts or styles—simple is best
4. Add Names with a Mail Merge
If you’re printing for a group, you don’t need to type names one by one. Create a spreadsheet with the names and any extra info (like titles), then use mail merge in Word to automatically fill in each tag. It’s fast, easy, and reusable for future events.
You can also mail merge in Canva with an Excel spreadsheet if you're designing there instead of Word.
5. Get the Print Settings Right
Label sheets are thicker than standard paper, so your printer setup matters. Here’s how to avoid smudges, jams, and misaligned prints:
- Use the manual feed tray for better control
- Select the “Labels” or “Heavy Paper” setting in your printer software
- Print one sheet at a time if your printer tends to jam
- Let printed sheets fully dry before stacking or handling
- If your sheets are curling from humidity or storage, let them sit flat under a heavy object for a few hours before printing

Where DIY Name Tags Work Best
If you're printing in-house for an event, this approach gives you flexibility and fast results:
- Conferences & trade shows – Customize tags by track, role, or company.
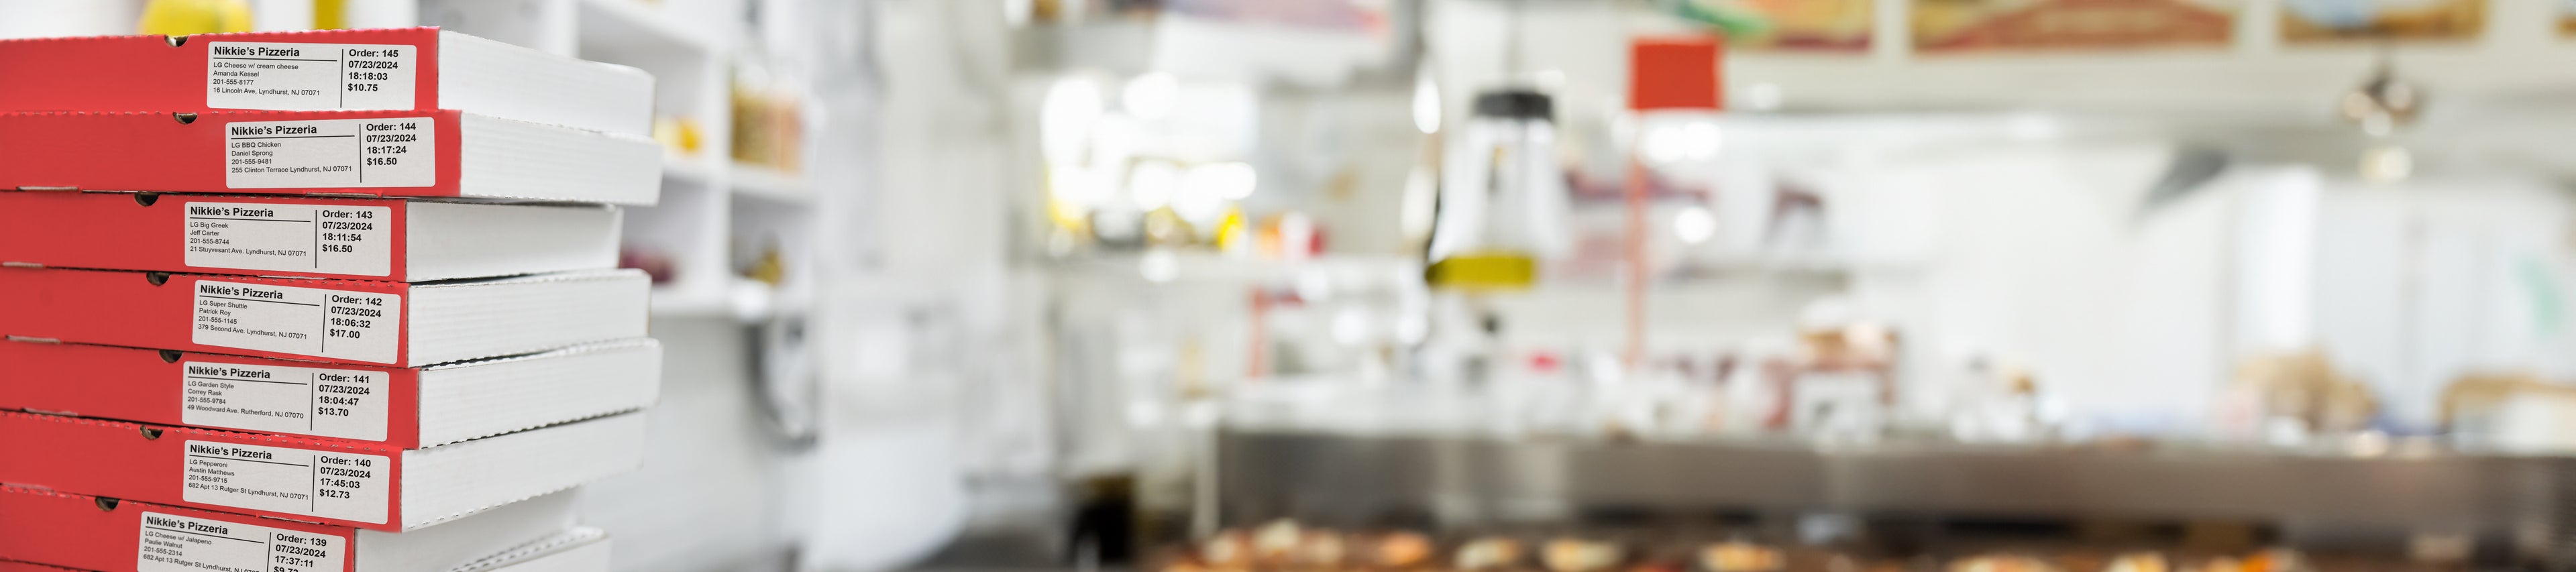
- Markets & pop-ups – Print only what you need each week.
- Networking events – Easy-to-read name tags help people connect.
- Office and onboarding – Labeling new team members makes things smoother from day one.
This is a great option for anyone managing tight budgets or changing teams.
Common Mistakes to Avoid
These slip-ups can ruin a full sheet of labels:
- Not test printing before using real labels
- Smudging by stacking sheets too soon
- Picking the wrong size for holders
- Over-styling with too many fonts or colors
Stick with readable font sizes—around 16–28 pt for names, smaller for job titles.
Simple, Practical, and Ready When You Are
DIY name tag labels are one of those small details that can make a big impact—whether you're welcoming new team members or setting up for a weekend event. With just a printer and a saved template, you're in full control without the stress or extra spend.
At Label Blanks, we keep it easy with bulk packs of blank labels so you can stock up and keep some on hand. Use a few now, save the rest for the next event.
Need name tag labels that work when you do? Shop our blank sheet labels and get fast, flexible options for every kind of event.
FAQs
Can I print name tags on an inkjet printer?
Yes. Inkjet-compatible label sheets work well. Just let the ink dry before handling to prevent smudging, especially with full-color prints.
How do I set up a name tag template in Word?
You can use Word’s built-in label tools under “Mailings” > “Labels,” or start with a downloadable template that’s already sized and aligned.
How can I print a lot of name tags from a list?
Use mail merge. Import your list from Excel into Word and apply it to your name tag template to print dozens of tags in one go.
Do I need special design software to make name tags?
No. Word or Google Sheets is all you need. Name tag templates make it easy to lay out and customize without any design experience.
Why are my name tag prints smudging or misaligned?
Common causes include incorrect printer settings, skipping test prints, or using the wrong label type. Use the manual tray, correct label mode, and let ink dry fully.