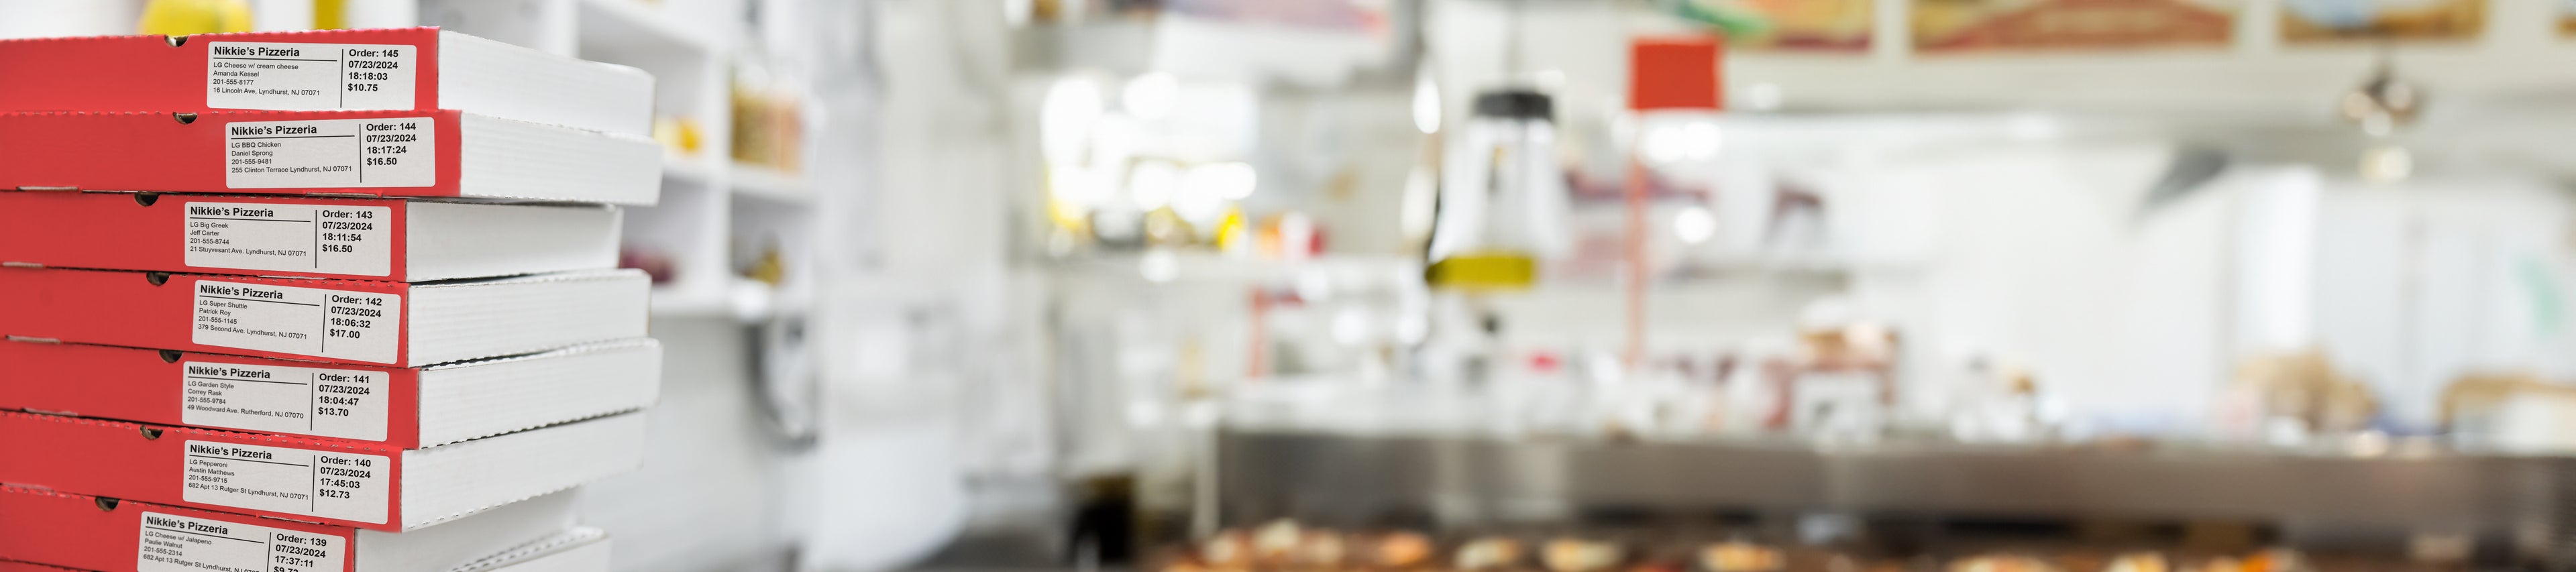
Print Sheet Labels with Canva: Templates + Tips

Printing your own sheet labels can save time, cut costs, and help you create custom designs without the hassle. With Canva’s user-friendly design tools and high-quality blank label sheets, it’s easier than ever to make labels that look professional — right from your own printer.
Here’s exactly how to do it the right way.

Step 1: Choose the Right Label Sheet
Before you even open Canva, make sure you have the right label sheets for your project.
Think about:
- Label size
- Label shape (rectangular, square, round)
- Printer type (inkjet vs laser)
Pro Tip: Always double-check if your labels are inkjet or laser compatible based on your printer type — wrong material = smudging or jams.
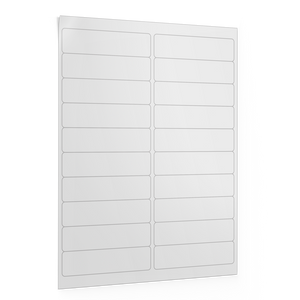
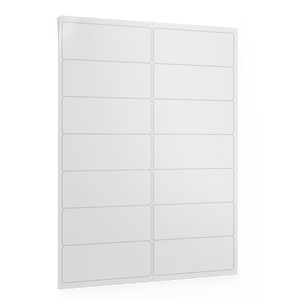
Step 2: Download a Label Sheet Template
Before jumping into Canva, start with the right foundation — our downloadable sheet label templates. These are preset to match popular label sheet sizes and layouts, so you won’t waste time guessing dimensions or tweaking spacing.
To get started:
- Go to our Sheet Label Templates page.
- Download the template that matches your label size (available in Word, PDF, or compatible formats).
- Use the layout as a reference or upload it into Canva to build your design around the label grid.
Pro Tip: Upload the PDF version of our template into Canva and set it as your background layer to guide your design. Just lower the transparency so you can see your design on top.
Step 3: Customize Your Label Design in Canva
Now that your label sheet template is uploaded to Canva, it’s time to start designing! Use the template as a guide to make sure your artwork lines up with the actual label layout — this helps avoid misprints and alignment headaches later.
Here’s how to get started:
- Add your text: business name, product info, or return address — whatever fits your use case.
- Upload logos or images you want to include.
- Pick fonts and colors that match your brand or style.
- Keep things clear and uncluttered so the labels are easy to read.
Pro Tip: If you used the template as a background layer, lock it in place to avoid accidentally moving it. When you’re done designing (and checking your alignment in the next step), delete that layer before you download your final file — it’s just there for alignment.
Step 4: Download and Print
After your design is ready:
- Click Download.
- Choose PDF Print for the best quality.
- Select Crop marks and bleed if possible (helps with alignment).
- Print a test page on plain paper first.
- If it looks good, print onto your blank label sheets.
Pro Tip: Always set your printer to “Labels” or “Heavyweight” media type in your settings. It prevents paper jams and improves print quality.
Ready to Get Started?
We’ve made it easy with free downloadable sheet label templates designed to match popular label sizes, so you can skip the guesswork and start designing right away. Once you’re set, grab the blank sheet labels you need to bring your design to life.
Explore our sheet label templates and shop blank sheet labels — fast shipping, great quality, and zero hassle.
FAQs About Printing Labels with Canva
Can I print labels from Canva on any printer?
Most inkjet and laser printers work fine. Just match your label sheets to your printer type for the best results.
How do I make sure my labels align when printing?
Use Canva’s ruler and guide tools, print a test page first, and always choose “Actual Size” in your printer settings (not “Fit to Page”).
Can I design different labels on the same sheet?
Yes! In Canva, create multiple designs side-by-side on one sheet. Just be careful with spacing to match your label layout.
Is Canva free for label printing?
Yes! Canva’s free version works perfectly for designing and downloading label files. You don’t need Canva Pro unless you want access to premium templates and features.
What file type should I download for label printing?
Always download your labels as PDF Print for the highest resolution and sharpest quality on your label sheets.