How to Create Barcode Labels: A Simple Step-by-Step Guide
Barcode labels are used by businesses to easily track inventory, products, shipments, and more. Creating and printing your own barcode labels doesn’t have to be complicated or expensive. With the right tools and a clear step-by-step process, you can create barcode labels in no time and print them right from your home or office.
This guide will walk you through how to create barcode labels from scratch, what tools you need, and how to print them for your business.

Why Use Barcode Labels?
Barcode labels are a must-have for many businesses. They simplify inventory management, improve shipping efficiency, and make tracking products much easier. Whether you run a retail store, a warehouse, or even an online business, barcode labels can save time and reduce errors.
Key benefits of using barcode labels:
- Efficient tracking: Barcodes allow for quick scanning, reducing the time needed for manual entry.
- Error reduction: Scanning barcodes helps avoid manual mistakes when recording inventory or product information.
- Cost-effective: Once you learn how to create and print barcode labels, you’ll save money compared to purchasing pre-made labels.
What You Need to Create and Print Barcode Labels
Before you start creating your own barcode labels, you’ll need a few things:
- Label Sheets or Rolls: Use blank label sheets to print your barcodes using an inkjet or laser printer. Alternatively, use direct thermal labels or thermal transfer labels for thermal printers. You can find various sizes of each depending on what type of items you're labeling.
- Barcode Generator Software: There are many free and paid tools online that let you create barcodes.
- Barcode Scanner: You’ll need a scanner to test and verify your barcodes to make sure they work properly once printed.
- Printer: An inkjet or laser printer will work for small-scale printing on blank sheet labels. If you're printing a large number of labels, consider a thermal label printer for more efficient and long-lasting prints.

Step-by-Step: How to Create Barcode Labels
Follow these easy steps to create and print barcode labels:
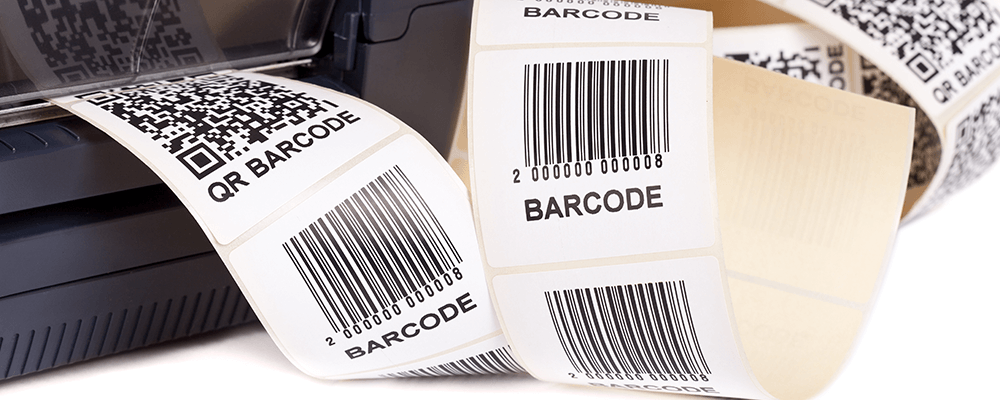
Step 1: Choose Your Barcode Type
There are different types of barcodes depending on your needs. The two most common are:
- UPC (Universal Product Code): Used mainly for retail products.
- Code 128: Common for shipping, inventory, and warehousing.
Decide which type works best for your business based on your use case.
Step 2: Generate Your Barcode
Once you’ve chosen the barcode type, use a barcode generator tool. These tools will create the barcode image based on the product number, SKU, or any other data you want to encode. Here’s how:
- Open your barcode generator tool.
- Select the barcode type (UPC, Code 128, etc.).
- Enter the product code or number.
- Generate the barcode.
Step 3: Design Your Label
Once the barcode is generated, it’s time to create your label. You can use software like Microsoft Word, Adobe Illustrator, or even online tools like Canva to place the barcode on a blank label template. Be sure to include any other information you need, such as the product name or description.
Step 4: Print the Labels
Once your design is ready, load your printer with the correct label sheets. Make sure the printer settings are adjusted for the label size you're using. Print a test page first to ensure everything is aligned correctly before printing a full batch.
Step 5: Test the Barcodes
After printing, use a barcode scanner to test that the barcodes work properly. Scan each barcode to make sure it links to the correct product or information.
Best Practices for Creating and Printing Barcode Labels
- Use Clear Fonts: If you’re including text along with your barcode, use clear, easy-to-read fonts to ensure that product information is visible.
- Print at High Resolution: Barcodes need to be crisp to be read properly by scanners, so print your labels at a high resolution.
- Choose the Right Label Material: For items exposed to moisture, heat, or rough handling, choose durable labels like weatherproof labels to ensure the barcode remains readable.
- Test Frequently: Don’t forget to scan and test your barcodes after printing to ensure they work correctly.

FAQ: Creating and Printing Barcode Labels
Q: How do I create barcode labels for my small business?
A: You can use free barcode generator tools to create the barcode itself and design your label using software like Word or design platforms. Once the design is ready, print them on blank label sheets using a standard printer.
Q: What type of barcode should I use?
A: For retail, UPC codes are most common. For general use like inventory or shipping, Code 128 is a flexible option. Choose the one that best fits your industry needs.
Q: Do I need a special printer to print barcode labels?
A: No, you can use a regular inkjet or laser printer if you're printing small batches. For higher volume or more durable labels, a thermal printer is a great option.
Q: Can I test my barcodes before printing?
A: Yes! Use a barcode scanner to test the barcodes on your computer screen before printing. Once printed, always scan a sample to ensure it's readable.

Making Barcode Labeling Work for Your Business
Learning how to create barcode labels can be a huge benefit for any business. Whether you need barcodes for products, shipping, or inventory, printing your own barcode labels is a cost-effective and efficient solution. With the right tools and a little practice, you’ll be able to create and print barcode labels like a pro.
If you need help with label materials or have questions, reach out to us. We’re happy to assist you!